/
Attaching Automated Emails to a Job Template

Attaching Automated Emails to a Job Template
- Marina Dekovic (Deactivated)
- Matthew Milosevic (Deactivated)
Owned by Marina Dekovic (Deactivated)
There are 4 types of email templates you have to attach to each Job Template;
- Application Created Email: This email will be sent out to all new candidates once they commence the application process.
Application Successful Email: This email will be sent out to the candidate once they submit their application.
- Application Closing Email: This email will be sent out to all incomplete candidates on a set number of days before the job closes.
Withdrawn Email: This email will be sent out to any candidate who has withdrawn from the job.
To attach the email templates:
- Hover your cursor over the Emails menu tab; you will see the option to attach each of the emails.
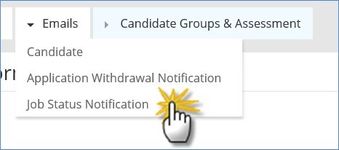
- Click on Candidate and you will see the following screen.

Select from each dropdown list to attach candidate emails.
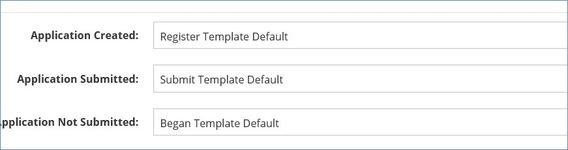
You will only see the emails based on the type you are choosing.
- Once you have selected an email template you can edit it by clicking the Edit link under each email:
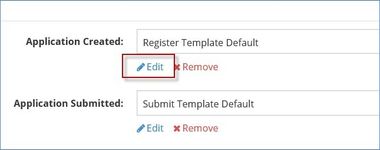
This will take you to the Edit Email Template screen, here you will be able to view and edit the email details.
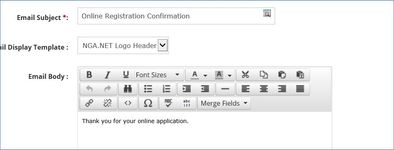
If you edit the attached email within the Job Template, it will automatically update the email in the Email Template Library and any other job templates that use this email.
- Once you are happy with the email format, click the Save and Review button at the bottom of the screen.

- This will then show you the preview of the email.
- This email has now been attached to this template. Repeat this process for all remaining automatic emails.
, multiple selections available,
Related content
Attaching Pre-Application and Application Forms to a Job Template
Attaching Pre-Application and Application Forms to a Job Template
More like this
Adding Candidate Groups
Adding Candidate Groups
Read with this
Setting up the Job Alert Email Template
Setting up the Job Alert Email Template
More like this
Attaching the APM to a Job Template
Attaching the APM to a Job Template
Read with this
Sending Emails
Sending Emails
More like this
Configuring the Job Creation Wizard
Configuring the Job Creation Wizard
Read with this
